1-Comprobar que la trampa del calentador de vapor opera correctamente.
2-Limpiar los filtros de combustible que están en la succión de la bomba.
1-Comprobar que no hay fugas de gases ni de aire en las juntas de ambas tapas y mirilla trasera.
2-Comprobar la tensión de la banda al compresor.
3-Limpiar el filtro de lubricante, que está pegado al compresor.
4-Lavar los filtros, tanto el de entrada a la bomba como el de entrada de agua al tanque de condensados.
5-Limpiar el electrodo del piloto de gas.
6-Comprobar que los interruptores termostáticos del calentador de combustible operan a la temperatura a que fueron calibrados al 7-hacer la puesta en marcha. Consulte su Manual de Operación.
8-Inspeccione los prensaestopas de la bomba de alimentación de agua.
1-DRENADO DE SÓLIDOS DEL CUERPO INTERIOR.
2-AFLOJE Y QUITE TAPÓN CAPA DEL DRENADO QUE SE ENCUENTRA EN EL LADO IZQUIERDO DEL GENERADOR DE VAPOR.
3-DEJE QUE SALGA AGUA DURANTE APROXIMADAMENTE 15 SEG O HASTA QUE EL AGUA SALGA CLARA
4-VUELVA A COLOCAR EL TAPÓN CAPA Y VERIFIQUE QUE NO HAYA FUGAS.
1-LIMPIEZA DEL CONJUNTO DE PILOTO Y ELECTRODO.
2-QUITE LA REJILLA O TAPA FRONTAL.
3-AFLOJE LAS TUERCAS DE ALIMENTACIÓN DE GAS AL PILOTO, EN LA VÁLVULA NOVA, DESCONECTE EL CABLE PORTA
4-ELECTRODO Y QUITE EL CONJUNTO DE PILOTO Y ELECTRODO.
5-LIJE EL ELECTRODO HASTA ELIMINAR LA CALCIFICACIÓN.
6-LIMPIE PILOTO Y ELIMINE RESIDUOS DE HOLLÍN EN ESTE.
7-COLOQUE, FIJE Y APRIETE CONJUNTO PILOTO Y ELECTRODO.
8-LIMPIEZA DE QUEMADOR DE ABANICOS.
9-AFLOJA TUERCA DE ALIMENTADOR EN QUEMADOR.
10-QUITE CONJUNTO DE PILOTO Y ELECTRODO, DE QUEMADOR.
11-QUITE QUEMADOR
12-LAVE QUEMADOR CON AGUA Y JABÓN ELIMINANDO RESIDUOS DE HOLLÍN, REEMPLACE ABANICOS SI ES NECESARIO.
13-COLOQUE Y FIJE EL QUEMADOR, CONECTE ALIMENTADOR Y FIJE PILOTO.
14-REAPRIETE DE CONEXIONES ELÉCTRICAS.
15-PARA EVITAR FALSOS CONTACTOS, APRIETE BORNES Y/O PUNTAS DE INTERCONEXIÓN.
1-LIMPIEZA DE CÁMARA DE COMBUSTIÓN Y DE SARRO INTERIOR.
2-DESCONECTE EL GENERADOR DE VAPOR DE LA ALIMENTACIÓN ELÉCTRICA, DE LA ALIMENTACIÓN DE GAS, DE LA
3-ALIMENTACIÓN DE AGUA Y DE LA SALIDA DE VAPOR.
4-DESCONECTE Y QUITE TODOS LOS COMPONENTES O CONTROLES ELÉCTRICOS.
5-QUITE LA SALIDA DE HUMOS Y LA TAPA SUPERIOR.
6-QUITE EL CUERPO EXTERIOR O ENVOLVENTE.
7-LAVE CON JABÓN Y AGUA A PRESIÓN LA CÁMARA DE COMBUSTIÓN ELIMINANDO AL 100% EL HOLLÍN, DEJANDO QUE SE SEQUE.
8-QUITE EL TAPÓN MACHO, META AGUA A PRESIÓN PARA DESALOJAR EL SARRO O LODOS, ENJUAGUE Y VUELVA A TAPONEAR.
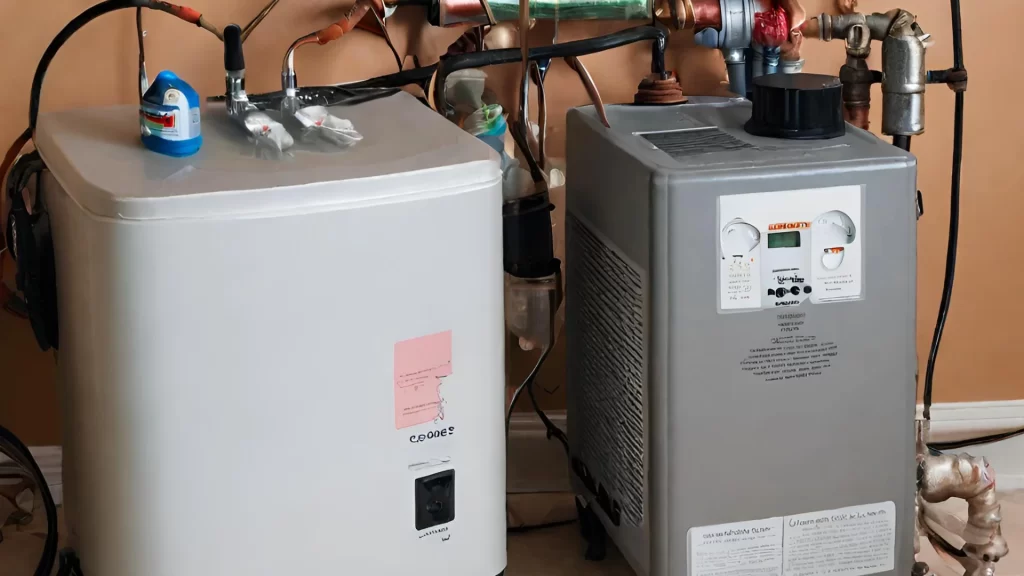
Mantener regularmente tu generador de vapor es esencial para garantizar un rendimiento óptimo y prolongar su vida útil. El mantenimiento adecuado no solo preserva la eficiencia operativa, sino que también contribuye a la seguridad y evita problemas potenciales. La limpieza regular y la inspección de componentes clave aseguran un funcionamiento sin problemas, minimizando el riesgo de averías. Además, el mantenimiento preventivo puede prevenir la acumulación de sedimentos y garantizar un rendimiento energético eficiente. En resumen, cuidar de tu generador de vapor no solo protege tu inversión, sino que también asegura una experiencia continua de sauna relajante y segura en tu hogar.
Conoce más de Grupo Casher
| Cookie | Duración | Descripción |
|---|---|---|
| cookielawinfo-checkbox-analytics | 11 months | This cookie is set by GDPR Cookie Consent plugin. The cookie is used to store the user consent for the cookies in the category "Analytics". |
| cookielawinfo-checkbox-functional | 11 months | The cookie is set by GDPR cookie consent to record the user consent for the cookies in the category "Functional". |
| cookielawinfo-checkbox-necessary | 11 months | This cookie is set by GDPR Cookie Consent plugin. The cookies is used to store the user consent for the cookies in the category "Necessary". |
| cookielawinfo-checkbox-others | 11 months | This cookie is set by GDPR Cookie Consent plugin. The cookie is used to store the user consent for the cookies in the category "Other. |
| cookielawinfo-checkbox-performance | 11 months | This cookie is set by GDPR Cookie Consent plugin. The cookie is used to store the user consent for the cookies in the category "Performance". |
| viewed_cookie_policy | 11 months | The cookie is set by the GDPR Cookie Consent plugin and is used to store whether or not user has consented to the use of cookies. It does not store any personal data. |
| Cookie | Tipo | Duración | Descripción |
|---|---|---|---|
| cookielawinfo-checkbox-analytics | 0 | 11 months | This cookie is set by GDPR Cookie Consent plugin. The cookie is used to store the user consent for the cookies in the category "Analytics". |
| cookielawinfo-checkbox-functional | 0 | 11 months | The cookie is set by GDPR cookie consent to record the user consent for the cookies in the category "Functional". |
| cookielawinfo-checkbox-necessary | 0 | 11 months | This cookie is set by GDPR Cookie Consent plugin. The cookies is used to store the user consent for the cookies in the category "Necessary". |
| cookielawinfo-checkbox-others | 0 | 11 months | This cookie is set by GDPR Cookie Consent plugin. The cookie is used to store the user consent for the cookies in the category "Other. |
| cookielawinfo-checkbox-performance | 0 | 11 months | This cookie is set by GDPR Cookie Consent plugin. The cookie is used to store the user consent for the cookies in the category "Performance". |
| viewed_cookie_policy | 0 | 11 months | The cookie is set by the GDPR Cookie Consent plugin and is used to store whether or not user has consented to the use of cookies. It does not store any personal data. |

En tienda aceptamos todas las tarjetas menos Banamex, Bancomer Y AE. En línea aceptamos todas.